2008 L.H.D

Installation Instruction

Installation instructions, accessories
Volvo Car Corporation Gothenburg, Sweden
S80 2008
S80 (07-) 2008

Instruction NoVersionPart. No.Click to download PDF-version of this Installation Instruction
306537701.430653768, 30721694
Luggage compartment net


IMG-240580


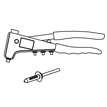
Equipment
A0000162
A0000172

IMG-240582


INTRODUCTION

  • Read through all of the instructions before starting installation.

  • Notifications and warning texts are for your safety and to minimise the risk of something breaking during installation.

  • Ensure that all tools stated in the instructions are available before starting installation.

  • Certain steps in the instructions are only presented in the form of images. Explanatory text is also given for more complicated steps.

  • In the event of any problems with the instructions or the accessory, contact your local Volvo dealer.

1
IMG-245880
 

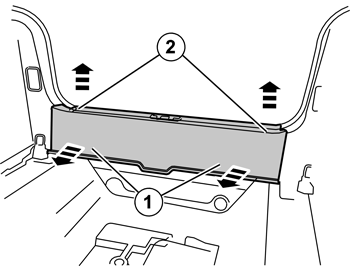
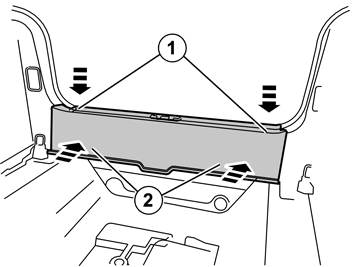
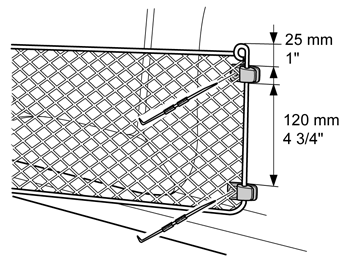
  • Take the net from the kit and press two of the clips into the rear end panel. The upper clip should be high up on the end panel and the lower as per specified measurements.

2
IMG-245881
 

  • Affix of strip of tape in the rear edge of the cargo compartment's left panel as illustrated.

3
IMG-245882
 

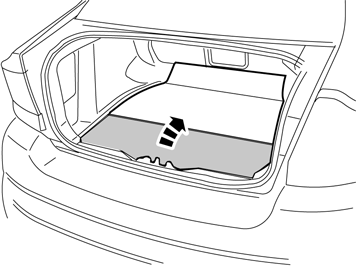
  • Position the rear end panel of the net against the rear edge of the side panel and position the front end panel against the side of the side panel so that the moveable part of the cargo compartment mat does not catch the rear net end when it is raised.

  • Use a pen to make a mark on the tape strip through the holes in the clips.

4
IMG-240584
 

5
IMG-240585
 

6
IMG-226722
 

7
IMG-245883
 

  • Press a scriber through the markings on the tape strip and through the panel to create holes about Ø 4.8 mm (3/16") in diameter.


    Note!

    Check the back of the panel to ensure that no cables could be damaged when the holes are made.


  • Remove the tape strip.

8
IMG-240587
 

  • Rivet the rear end panel clips in the side panel.

  • Bend in the front end of the net toward the side panel.

9
IMG-226734
 

10
IMG-240590
 

11
IMG-240591
 

12
IMG-240594
 

  • Fit two clips on the net's front end panel in the positions illustrated.

  • Insert a scriber through the holes in the clips and press through the panel to create a hole approximately Ø 4.8 mm (3/16 ") in diameter. I


    Note!

    Check the back of the panel to ensure that no cables could be damaged when the holes are made.


  • If necessary, remove the cover of the fuse holder/left back-up (reversing) lamp to use as a counterhold against the rear side.

13
IMG-240595


Note!

Do not trap the net in the pop rivets when securing.