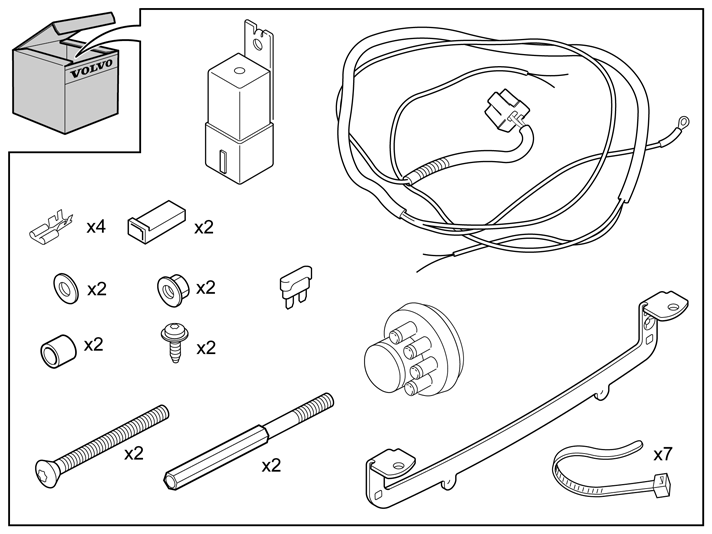
| | |
|  | | IMG-246024 |
|
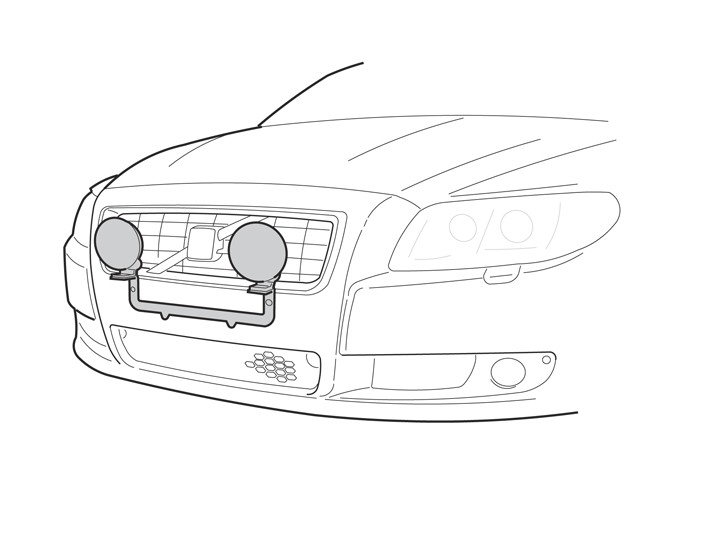
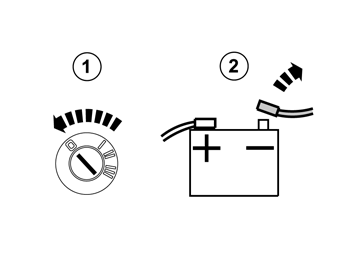
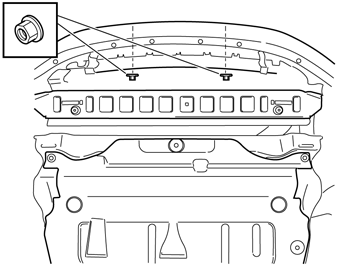
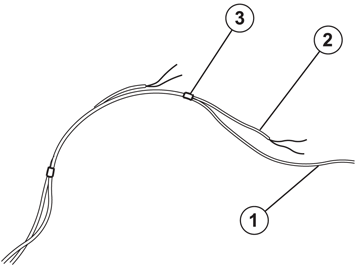
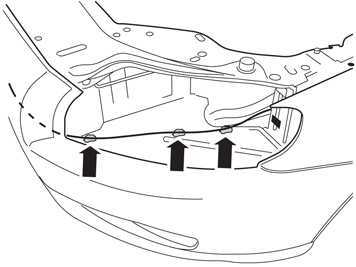
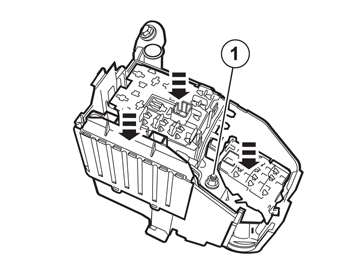
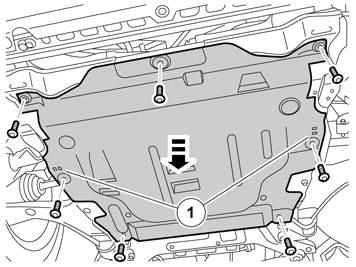
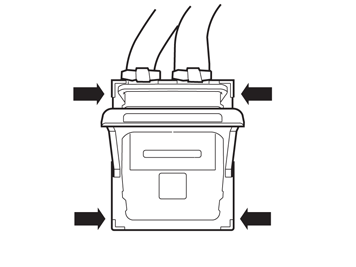
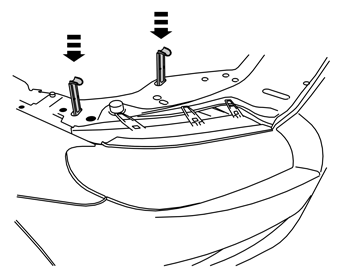
| | Installing the bracket Note!
Wait at least three minutes before unplugging the connectors or removing other electrical equipment. |
|
|  | | IMG-235763 |
|
| | |
|  | | IMG-266184 |
|
| | |
|  | | IMG-266185 |
|
| | |
|  | | IMG-235782 |
|
| | |
|  | | IMG-235783 |
|
|  | | IMG-235785 |
|
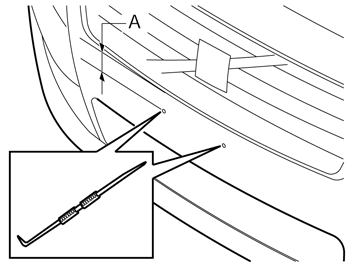
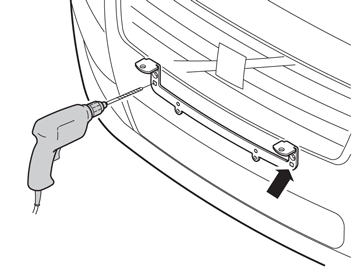
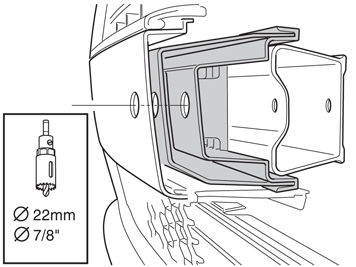
| | Illustration A Note!
It is important that the holes are drilled horizontally to the car. |
Illustration B |
|  | | IMG-235784 |
|
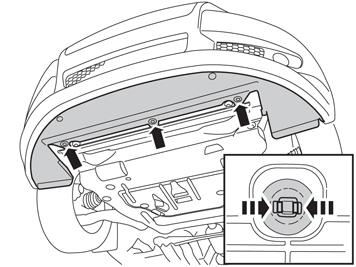
| | Note!
Do not drill through the impact member. |
|
|  | | IMG-239480 |
|
| | |
|  | | IMG-239481 |
|
| | |
|  | | IMG-266186 |
|
| | |
|  | | IMG-235795 |
|
| | |
|  | | IMG-266187 |
|
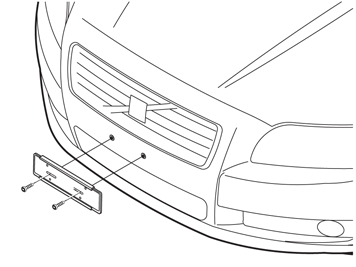
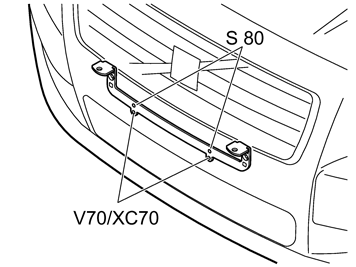
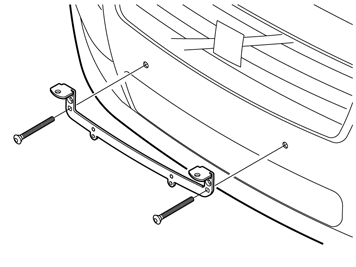
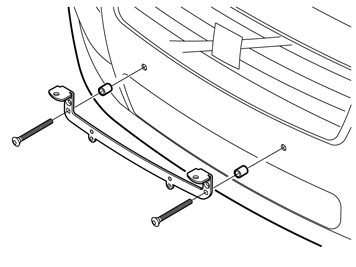
| | Applies to the S80 and XC70 Install: the bracket. the screws. registration plate
|
|  | | IMG-266188 |
|
| | Applies to the V70 Install: the spacers. the bracket. the screws registration plate.
|
| | |
|  | | IMG-232587 |
|
| | |
|  | | IMG-232588 |
|
| | |
|  | | IMG-235802 |
|
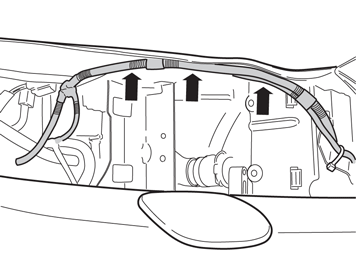
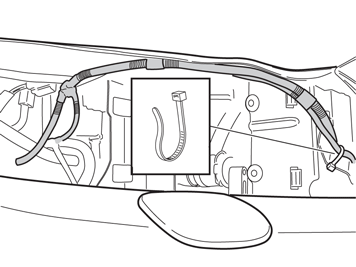
| | In order to facilitate cable routing, tape the red cable (1) together with the longer auxiliary lights' cables (2), black and blue. Finally, tape the end of the shorter auxiliary lights' cables (3).
|
|  | | IMG-235805 |
|
| | |
|  | | IMG-235806 |
|
| | |
|  | | IMG-266189 |
|
| | |
|  | | IMG-235810 |
|
| | |
|  | | IMG-235811 |
|
| | |
|  | | IMG-235812 |
|
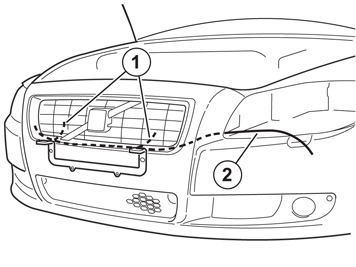
| | Route the cables taped together from below, black and blue cable out through the grille (1) at the auxiliary lights' mounting points, red cable, out at the left-hand headlamp (2).
Applies to cars with intercooler (turbo) |
|  | | IMG-235906 |
|
| | |
|  | | R3501571 |
|
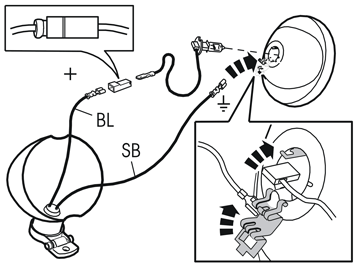
| | The illustration shows an outline of the connection of the auxiliary lights. See the separate instructions for the complete method. Thread the cables through the lamp housing. Install cable terminals onto both cables. Fit a socket housing to the blue (BL) cable to avoid short circuits. Connect the blue (BL) cable to the lamp's cable. Connect the black (SB) cable to ground on the light insert.
|
|  | | IMG-235916 |
|
| | |
|  | | IMG-235917 |
|
| | |
|  | | IMG-235922 |
|
| | |
|  | | IMG-235923 |
|
| | |
|  | | IMG-235924 |
|
| | |
|  | | IMG-235925 |
|
| | Note!
Check that guides and rubber seals are fitted correctly, and that the cables do not become trapped. |
|
|  | | IMG-235927 |
|
| | |
|  | | IMG-239420 |
|
| | |
|  | | IMG-222267 |
|
| | |
|  | | IMG-317663 |
|
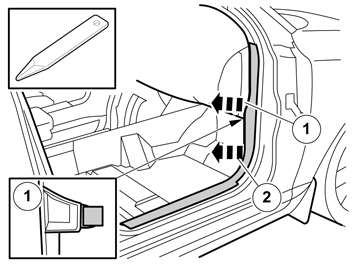
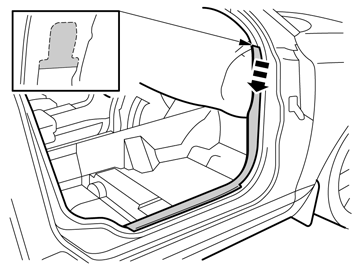
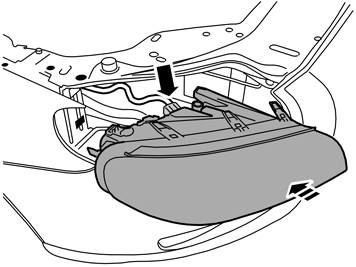
| | Note!
The front and upper sill panel must be removed and installed as one unit. |
|
|  | | IMG-317664 |
|
| | |
|  | | IMG-319003 |
|
| | |
|  | | IMG-222268 |
|
| | |
|  | | IMG-222270 |
|
| | |
|  | | IMG-225205 |
|
| | |
|  | | IMG-225201 |
|
| | |
|  | | IMG-239483 |
|
| | |
|  | | IMG-235947 |
|
| | |
|  | | IMG-266223 |
|
| | |
|  | | IMG-236054 |
|
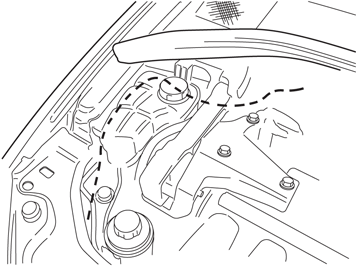
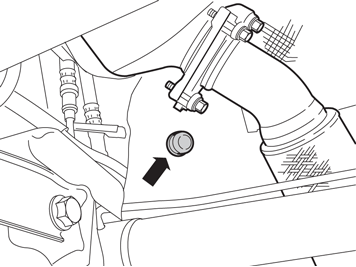
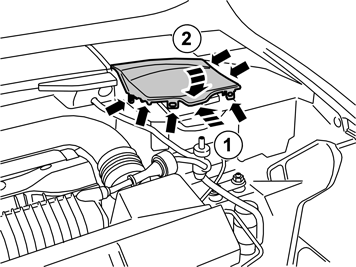
| | On certain engine versions the grommet is hidden by a heat shield. |
|  | | IMG-235950 |
|
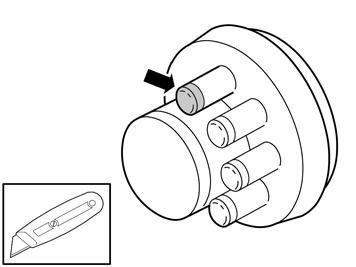
| | Cut off a small rubber teat on the new rubber grommet and thread through the cable. Route the cable into the passenger compartment. Install the rubber grommet. Reinstall the engine splash guard and the cover panel.
|
|  | | IMG-235952 |
|
| | |
|  | | IMG-235953 |
|
| | |
|  | | IMG-235954 |
|
| | |
|  | | IMG-235955 |
|
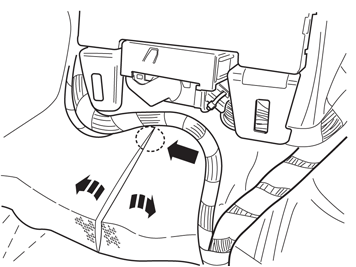
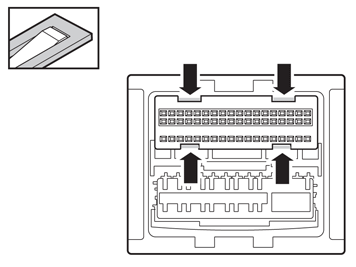
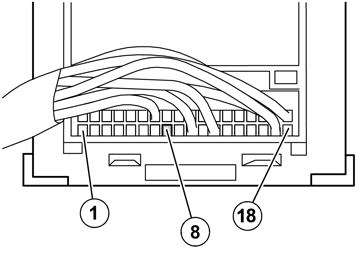
| | Applies to vehicles manufactured up to and including chassis number: S80-122408 V70-140418 XC70-81468
Reinstall: the catch the cover the connector
|
|  | | IMG-338140 |
|
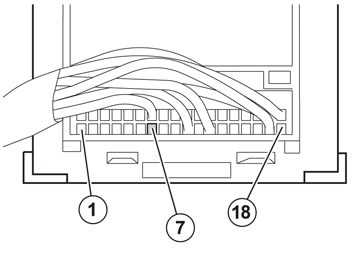
| | Applies to vehicles manufactured from and including chassis number: S80122409- V70140419- XC7081469
Reinstall: the catch the cover the connector
|
|  | | IMG-225269 |
|
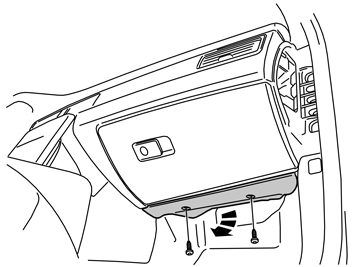
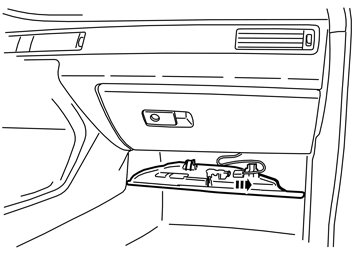
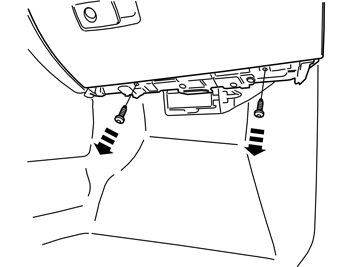
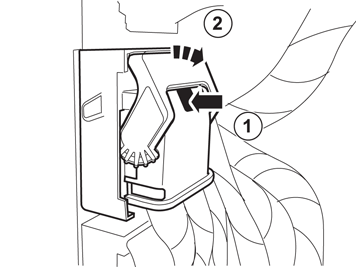
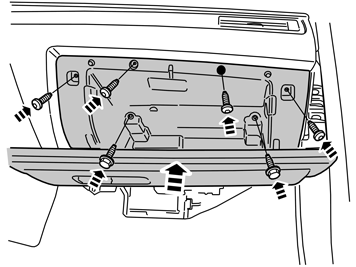
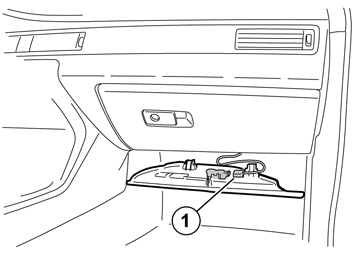
| | Applies to all models Installing the glovebox Reinstall the glovebox and torque tighten the M6 screws to 10 Nm (7.5 lbf.ft). Connect the connector to the reverse of the glovebox. Install the screws in the lower edge.
|
|  | | IMG-240540 |
|
| | |
|  | | IMG-222344 |
|
| | |
|  | | IMG-232602 |
|
|  | | IMG-232603 |
|
| | |
|  | | IMG-242268 |
|
| | |