2012 L.H.D

장착 지침

Installation instructions, accessories
Volvo Car Corporation Gothenburg, Sweden
V70 2012
V70 (08-) 2012

Instruction NoVersionPart. No.Click to download PDF-version of this Installation Instruction
307565841.130756579, 30756580
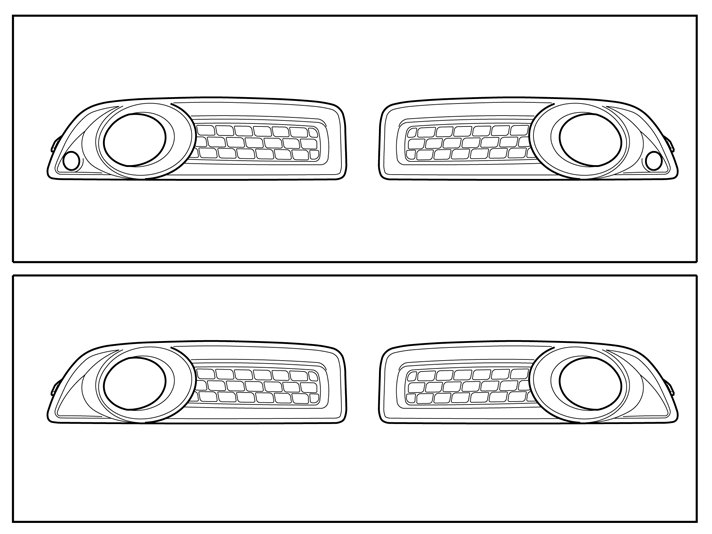
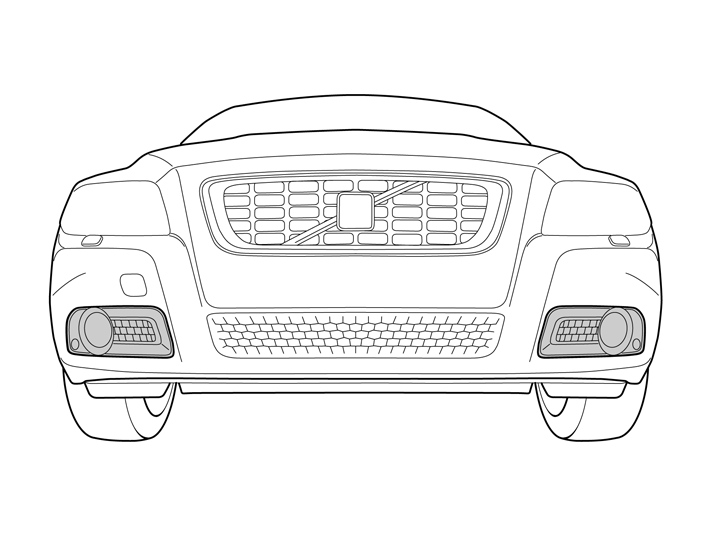
Decor trim, fog lights


IMG-310904


Equipment
IMG-242205
A0000162

IMG-310903


INTRODUCTION

  • Read through all of the instructions before starting installation.

  • Notifications and warning texts are for your safety and to minimise the risk of something breaking during installation.

  • Ensure that all tools stated in the instructions are available before starting installation.

  • Certain steps in the instructions are only presented in the form of images. Explanatory text is also given for more complicated steps.

  • In the event of any problems with the instructions or the accessory, contact your local Volvo dealer.

  

Note!

Decor trim, fog lights R-Design in combination with front parking assistance may only be installed on cars where also Spoiler rear bumper R-Design has been installed.


1
IMG-309005
 

Applies to all models

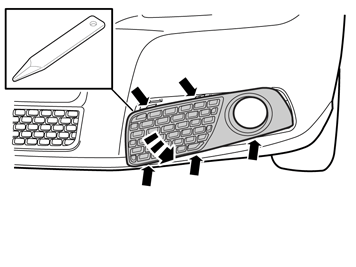
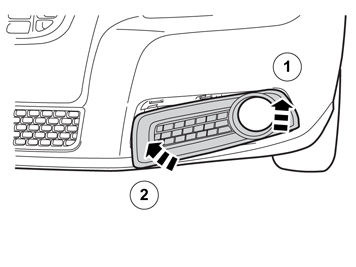
  • Carefully pry off the panel using a weatherstrip tool. Start at the inner end and continue around. It is secured by six hooks.

    Place the panel aside, new is included in the kit.

2
IMG-309006
 

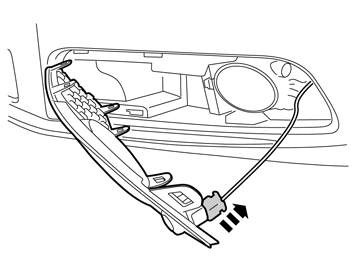
Applies to cars with parking assistance, front

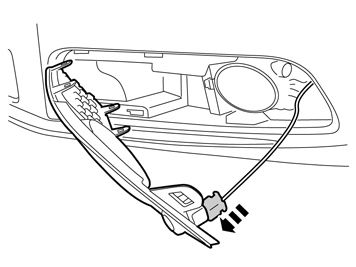
  • Disconnect the connector to the sensor.

3
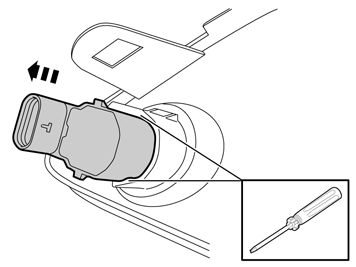
IMG-309007
 

  • Remove the sensor by carefully prying up the catches and pulling it out.

4
IMG-309008
 

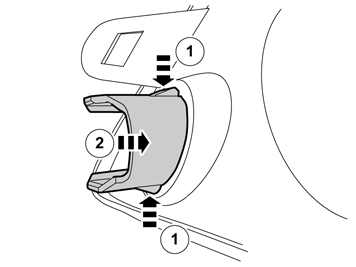
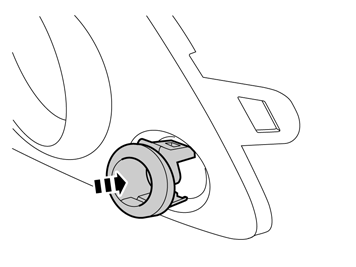
  • Remove the cradle by pressing in the catches on top and underneath and pressing it out.

    Place the panel aside, new is included in the kit.

5
IMG-311024
 

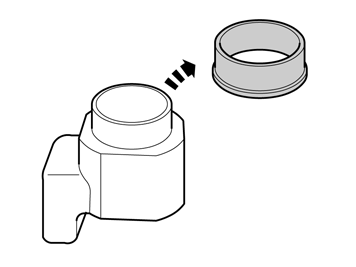
Points 5-7 apply to all cars with parking assistance where the customer desires surface treatment of sensors and holders in the same colour as the decor trim (silver 426)

  • Remove the seal rings from the sensors.

6
IMG-311025
 

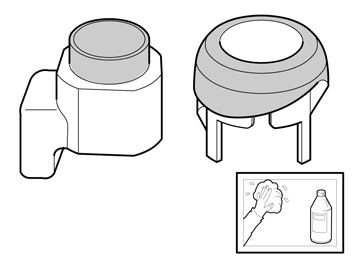
  • Clean the sensors and holders on the surface shown in the illustration. Use isopropanol and let dry.

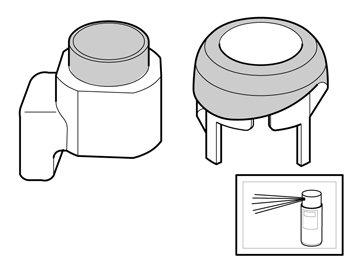
  • Apply a thin and even coat of activator on the cleaned surfaces. Let dry for at least 10 minutes and max. 30 minutes before painting.

7
IMG-311026
 

  • Paint the sensors and holders with the same color code as the decor trim around the fog lights' panels. Use paint recommended by Volvo. Paint max. two layers (1 layer base coat and 1 layer clear coat). Protect connections so that paint does not end up on the contact surfaces.


    Caution!

    Too many layers of paint may result in partial or complete malfunction.


  • When the paint has dried, reinstall the sealing rings.

8
IMG-309009
 

  • Take a new panel from the kit. Secure the sensor cradle in the new panel. Ensure that the catches engage.

9
IMG-309010
 

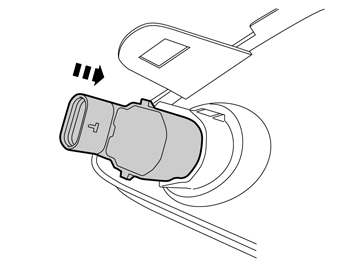
  • Press the sensor into the cradle.

10
IMG-311027
 

  • Plug in the connector to the sensor.

11
IMG-311028
 

Applies to all models

  • Press in the new panel. Make sure all catches engage.

  • Repeat the operation on the other side.

12
IMG-242268
 

Applies to cars with parking assistance, front

A new placement of sensors with holders means that new software has to be downloaded.

  • Download the software for the accessory's function following the service information in VIDA.