| | |
| | Read through all of the instructions before starting installation. Notifications and warning texts are for your safety and to minimise the risk of something breaking during installation. Ensure that all tools stated in the instructions are available before starting installation. Certain steps in the instructions are only presented in the form of images. Explanatory text is also given for more complicated steps. In the event of any problems with the instructions or the accessory, contact your local Volvo dealer.
|
| | |
|  | | IMG-363036 |
|
| | Note!
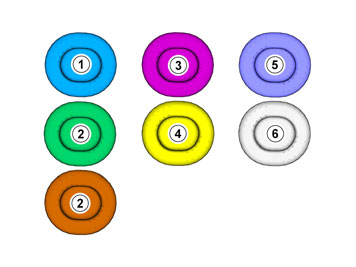
This colour chart displays (in colour print and electronic version) the importance of the different colours used in the images of the method steps. |
Used for focused component, the component with which you will do something. Used as extra colors when you need to show or differentiate additional parts. Used for attachments that are to be removed/installed. May be screws, clips, connectors, etc. Used when the component is not fully removed from the vehicle but only hung to the side. Used for standard tools and special tools. Used as background color for vehicle components.
|
| | |
|  | | IMG-394535 |
|
| | |
|  | | IMG-387004 |
|
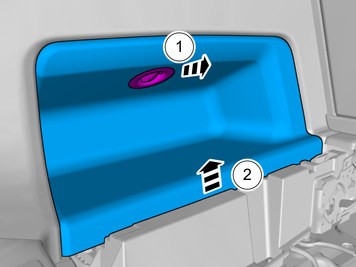
| | Release the lock. Remove the panel. |
|  | | IMG-394520 |
|
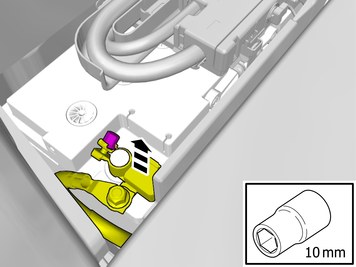
| | Remove the battery's negative cable. |
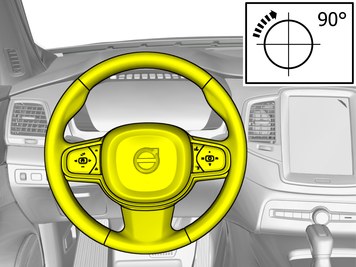
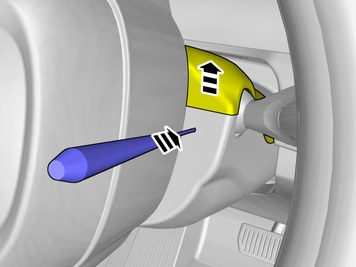
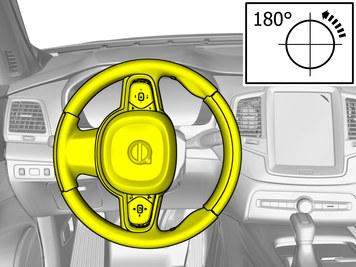
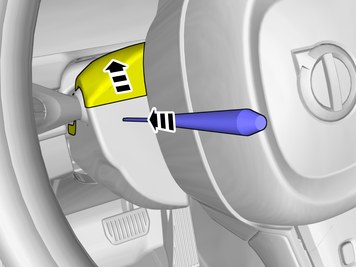
| | When removing on right-hand drive cars, perform the procedures on the opposite side and/or mirrored. |
|  | | IMG-395203 |
|
| | |
|  | | IMG-395231 |
|
| | |
|  | | IMG-395232 |
|
| | |
|  | | IMG-395236 |
|
| | |
|  | | IMG-395252 |
|
| | |
|  | | IMG-395250 |
|
| | |
|  | | IMG-395260 |
|
| | |
|  | | IMG-395262 |
|
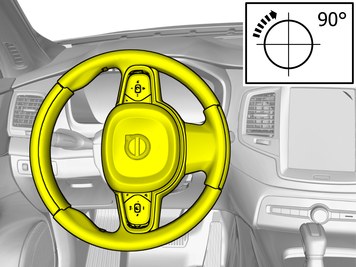
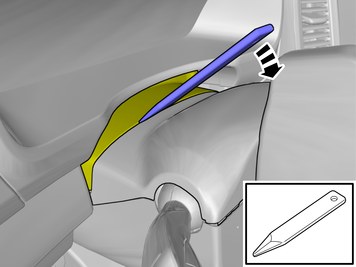
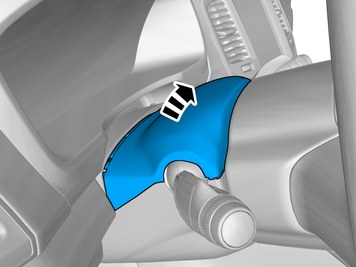
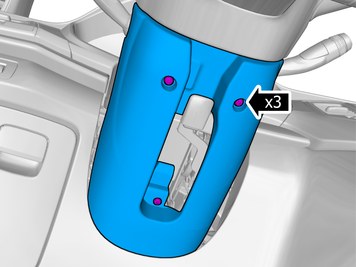
| | Remove the screws. Remove the panel. |
|  | | IMG-395203 |
|
| | |
|  | | IMG-395375 |
|
| | |
|  | | IMG-395232 |
|
| | |
|  | | IMG-395391 |
|
| | |
|  | | IMG-395397 |
|
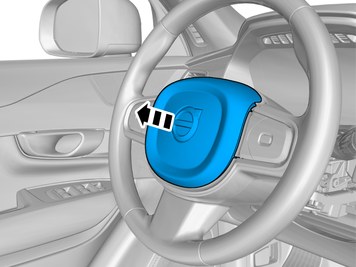
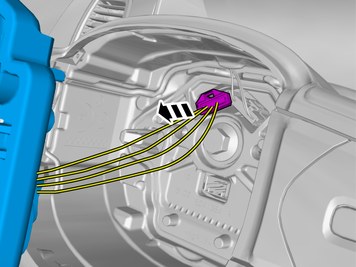
| | Warning!
When temporarily storing a pyrotechnical component, it must always be positioned with its active part (e.g. air bag front or equivalent) facing up. |
Remove the marked part. The part is to be reused. |
|  | | IMG-395457 |
|
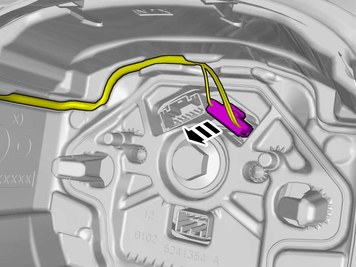
| | Disconnect the connector. |
|  | | IMG-395470 |
|
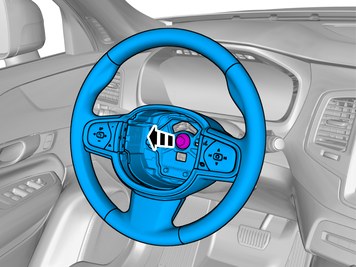
| | Disconnect the connector. |
|  | | IMG-395471 |
|
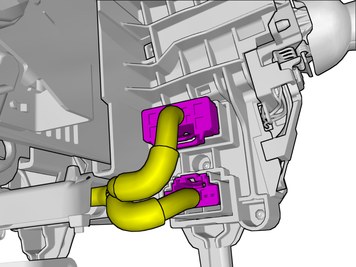
| | Turn the steering wheel into neutral position. Remove the screw. Remove the marked part. |
|  | | IMG-395570 |
|
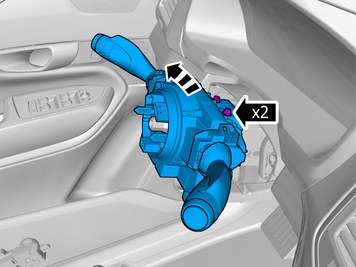
| | Disconnect the connectors. |
|  | | IMG-395560 |
|
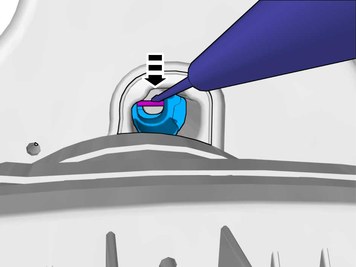
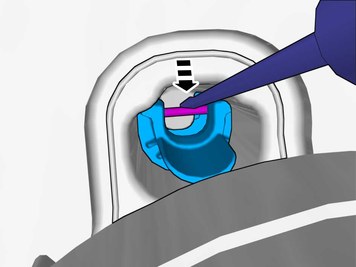
| | Remove the screws. Remove the marked part. |
|  | | IMG-395670 |
|
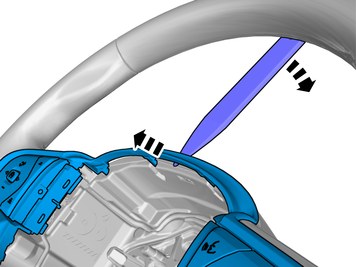
| | Use: Interior trim remover
|
|  | | IMG-395671 |
|
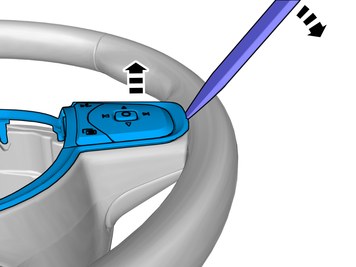
| | Use: Interior trim remover
|
|  | | IMG-395681 |
|
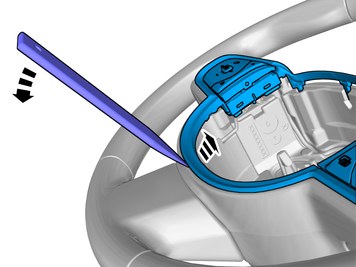
| | Use: Interior trim remover
|
|  | | IMG-395682 |
|
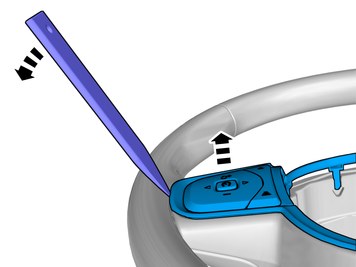
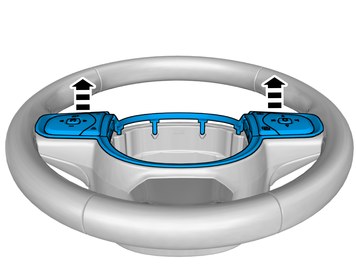
| | Use: Interior trim remover
|
|  | | IMG-395680 |
|
| | |
|  | | IMG-395701 |
|
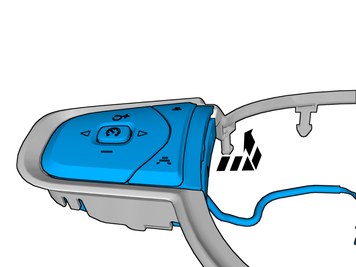
| | Remove the marked part. Repeat on the other side. The part is to be reused. |
| | |
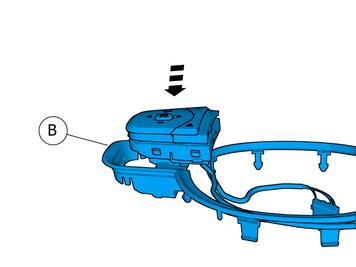
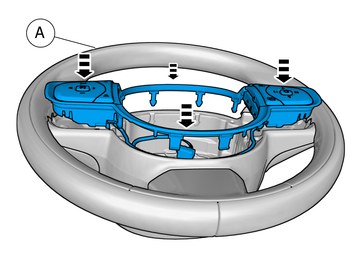
| | When installing on right-hand drive cars, perform the procedures on the opposite side and/or mirrored. |
|  | | IMG-395805 |
|
| | Repeated on the right-hand side. Reuse existing parts. |
|  | | IMG-395806 |
|
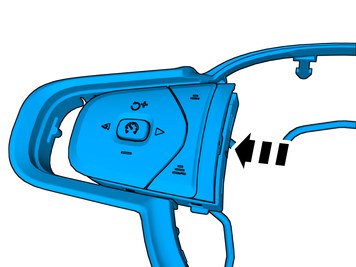
| | Repeated on the right-hand side. |
|  | | IMG-395811 |
|
| | Note!
Only use moderate force. |
|
|  | | IMG-395820 |
|
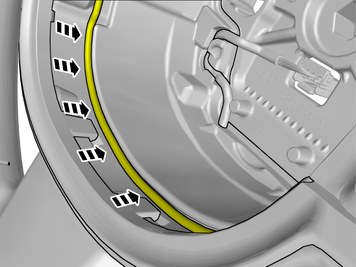
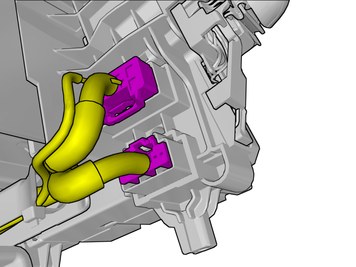
| | Position/route the cable harness as illustrated. |
|  | | IMG-395825 |
|
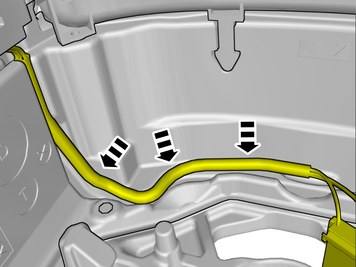
| | Position/route the cable harness as illustrated. |
|  | | IMG-395910 |
|
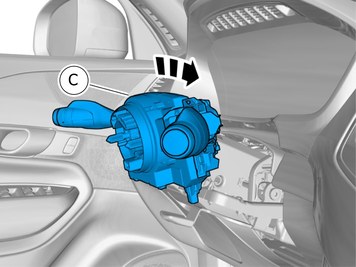
| | Caution!
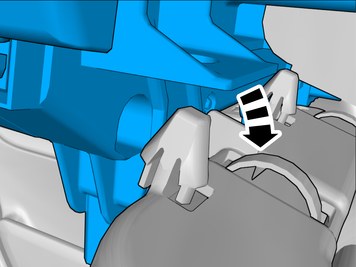
Take extra care when handling the component. |
Install component that comes with the accessory kit. |
|  | | IMG-396176 |
|
| | |
|  | | IMG-395935 |
|
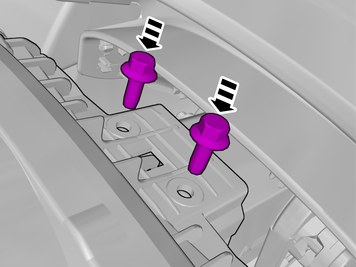
| | Install the screws.
Tightening torque: Steering wheel module, to Steering column
, 2.8 Nm
|
|  | | IMG-395923 |
|
| | |
|  | | IMG-395945 |
|
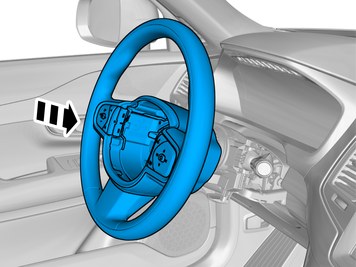
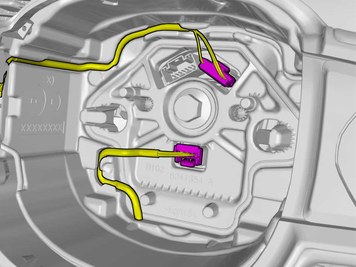
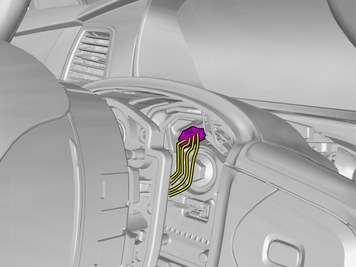
| | Install component that comes with the accessory kit. |
|  | | IMG-396020 |
|
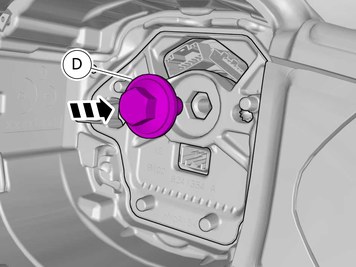
| | Install component that comes with the accessory kit. Tighten the screw.
Tightening torque: Steering wheel to steering column (center screw)
, 60 Nm
|
|  | | IMG-395968 |
|
| | |
|  | | IMG-396035 |
|
| | |
|  | | IMG-396040 |
|
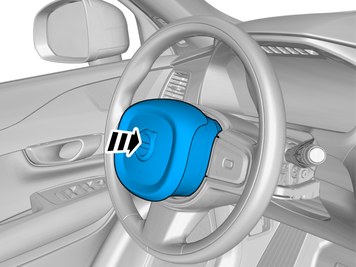
| | Reuse existing parts. Press until a click is heard. |
| | |
|  | | IMG-394580 |
|
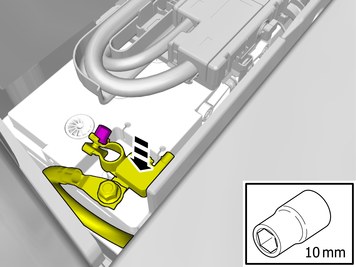
| | Reinstall the battery's negative cable.
Tightening torque: Battery cable for battery
, 6 Nm
|
|  | | IMG-394531 |
|
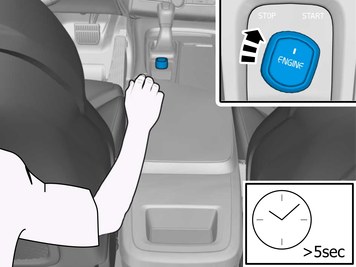
| | Warning!
The first time the vehicle is activated after the battery has been disconnected, this must be performed from the rear seat, avoid the work area for the air bags. |
|
| | Reinstall the removed parts in reverse order. |
| | |
|  | | IMG-242268 |
|
| | Download software (application) for the accessory's function according to the service information in VIDA. Order and download software according to: 31435701
|