2007 R AWD L.H.D

Installation Instructions

Installation instructions, accessories
Volvo Car Corporation Gothenburg, Sweden
V70 2007
V70 (00-08) 2007

Instruction NoVersionPart. No.Click to download PDF-version of this Installation Instruction
91722911.0
Mounting kit for the front child seat


Equipment
A0000162
A0000161

D8802862


INTRODUCTION

  • Read through all of the instructions before starting installation.

  • Notifications and warning texts are for your safety and to minimise the risk of something breaking during installation.

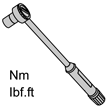
  • Ensure that all tools stated in the instructions are available before starting installation.

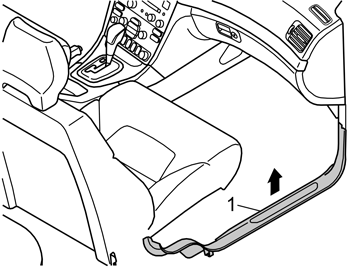
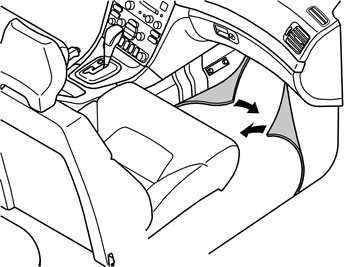
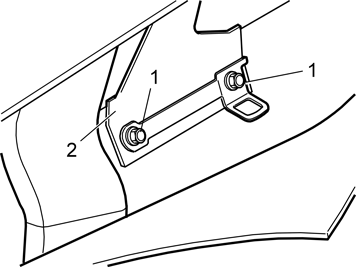
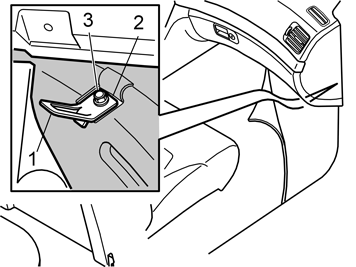
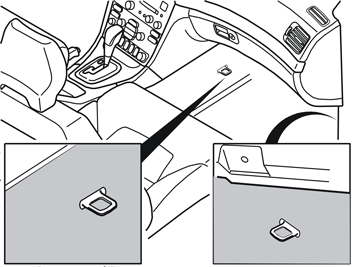
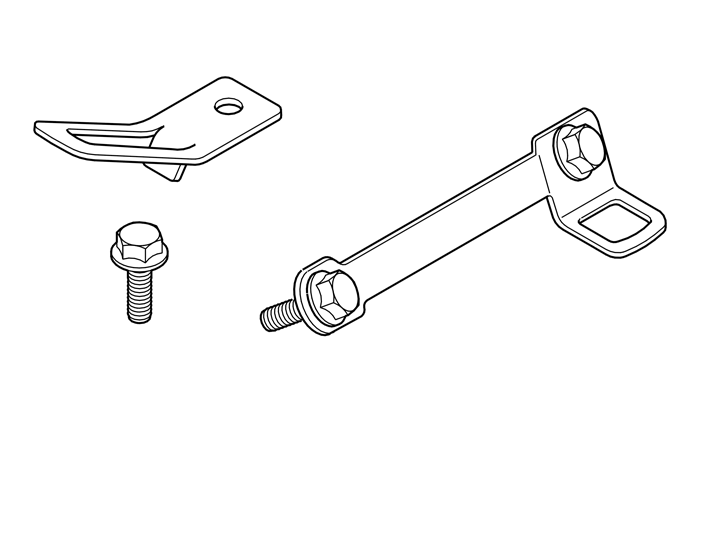
  • Certain steps in the instructions are only presented in the form of images. Explanatory text is also given for more complicated steps.

  • In the event of any problems with the instructions or the accessory, contact your local Volvo dealer.


Note!

It is recommended that an authorised Volvo workshop carries out the installation.


1
M8503158
 

  • Move the right-hand seat as far back as possible

  • Remove the right-hand side panel from the centre console. Turn the clip (1) 90°. Pull out the rear section of the panel so that the panel can be pulled backwards

  • Remove the soundproofing panel on the right-hand side. Remove the two screws. Pry off the rear edge of the soundproofing panel so that the right-hand side releases and the soundproofing panel can be pulled downwards/backwards.

2
D8501872
 

  • Remove the sill trim panel (1) by pulling upwards. Twist the front section inwards and unhook the rear section from the B-post panel.

3
D8501857
 

  • Push the floor carpet and insulation panel to one side.

4
D8802863
 

  • Remove the two screws from the bracket (2) on the tunnel (the screws will not be reused)

  • Place the end mounting in position, Tighten using both screws (1). Tighten to 25 Nm (19 lbf. ft).

5
D8801776
 

  • Fold up the tab on the firewall

  • Remove the adhesive label covering the hole (2)

  • Install the mounting eyelet (1) using the screws (3) from the kit. Tighten to 25 Nm (19 lbf. ft).

6
D8501876
 

  • Fold the insulation panel and floor carpet back into position so that the mounting eyelets protrude through the stamped grooves in the floor carpet.

7
 

  • Reinstall the tunnel panel

  • Reinstall the soundproofing panel

  • Reinstall the sill trim panel.