2010 R.H.D

Installation Instruction

Installation instructions, accessories
Volvo Car Corporation Gothenburg, Sweden
V50 2010

Instruction NoVersionPart. No.Click to download PDF-version of this Installation Instruction
307664541.11281842, 30791727, 8648784, 30791869, 8635976, 1287478
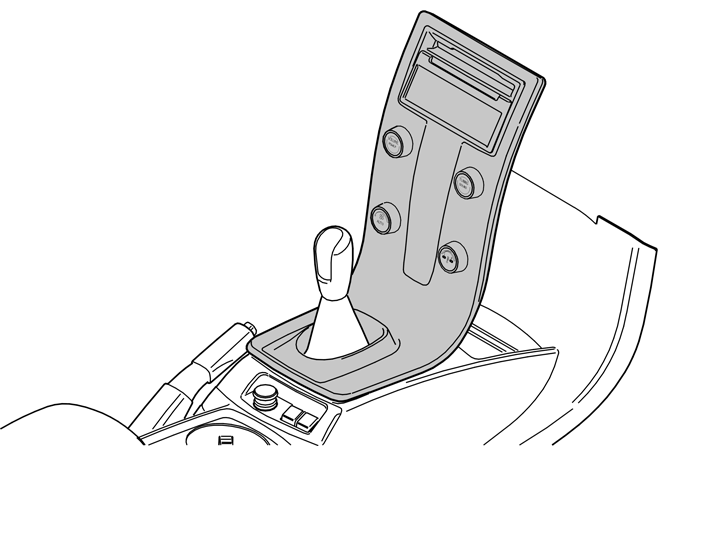
Trim panel centre stack


J8504529


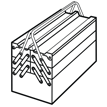
Equipment
A0000162

IMG-213320


INTRODUCTION

  • Read through all of the instructions before starting installation.

  • Notifications and warning texts are for your safety and to minimise the risk of something breaking during installation.

  • Ensure that all tools stated in the instructions are available before starting installation.

  • Certain steps in the instructions are only presented in the form of images. Explanatory text is also given for more complicated steps.

  • In the event of any problems with the instructions or the accessory, contact your local Volvo dealer.

 
1
 

  • Turn the ignition key to position 0.

  • Remove the ignition key from the ignition switch.


    Note!

    Wait at least five minutes before disassembling the connectors or removing other electrical equipment.


2
J8504530
 

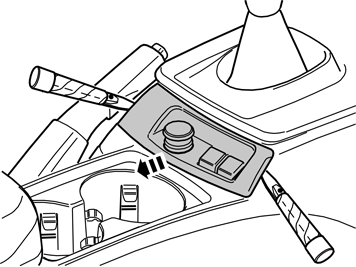
Detach the panel at the rear edge of the centre console:

  • Use a plastic weatherstrip tool to pry loose the panel. The panel is secured by a catch on each short side.

  • Move the panel to the side, to access the two screws underneath.

3
J8504531
 

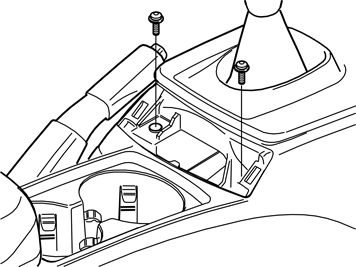
  • Remove the two screws holding the centre console at the rear edge.

4
J8504532
 

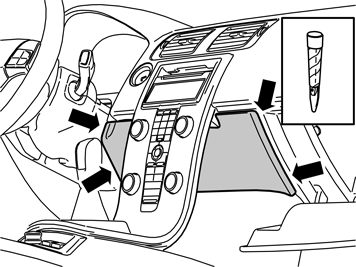
Remove the panel on the rear of the centre console:

  • Open the glove compartment.

  • Use a plastic weatherstrip tool to pry loose the panel. The panel is secured by two catches on each long side.

  • Pull the panel off downwards.

5
J8504638
 

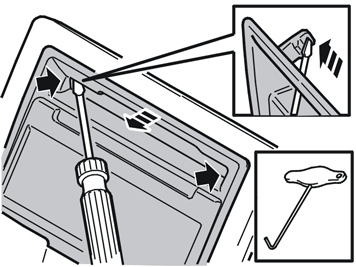
Remove the surround for the display and the CD player:

  • Press in the catches in the edges of the CD player's cover with a small screwdriver, fold the surround back and pull it up.

6
J8504534
 

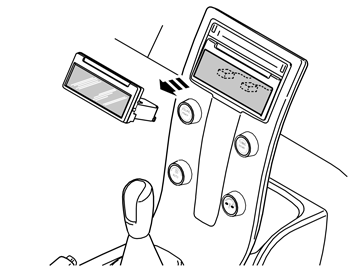
  • Press out the display from the rear of the centre console.

  • Disconnect the two connectors. Put the display to one side.

7
J8504535
 

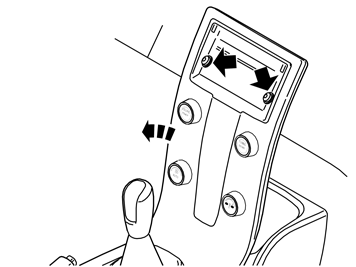
  • Remove the two screws holding the centre console to the dashboard.

  • Remove the connector on the reverse of the dashboard environment panel.

  • Remove the centre console from the dashboard and tunnel console.

8
J8504537
 

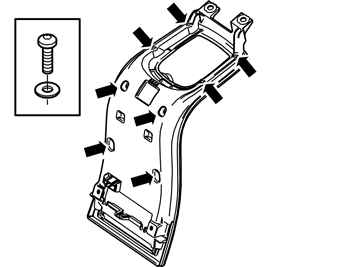
  • Remove the eight screws on the rear of the centre console. Remove the rear section.

9
J8504536
 

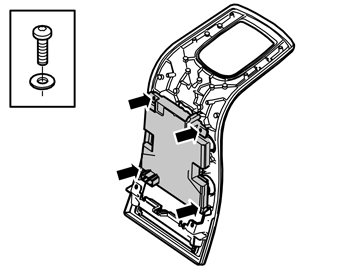
  • Remove the four screws for the dashboard environment panel.

  • Remove the dashboard environment panel. Put it to one side.

  • Remove the panel from the centre console. A new panel is in the kit.

10
 

Take the new panel. Reinstall:

  • dashboard environment panel

  • rear section

  • the centre console for the dashboard and tunnel console

  • the connector for the dashboard environment panel

  • the connectors for the display

  • the display

  • the surround for the display and CD player

  • the panel on the rear of the centre console

  • the panel at the rear edge of the centre console.