| | |
|  | | IMG-245980 |
|
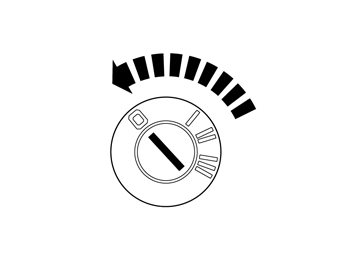
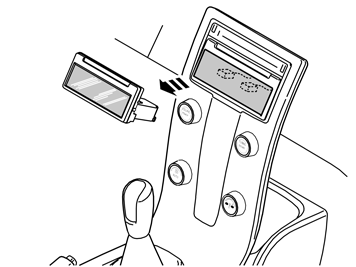
| | Preparations Note!
Wait at least three minutes before unplugging the connectors or removing other electrical equipment |
|
|  | | J8504532 |
|
| | |
|  | | J8504893 |
|
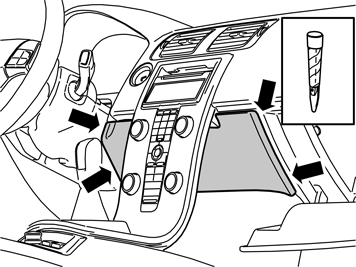
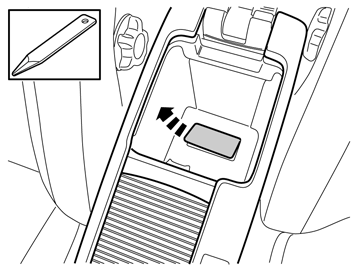
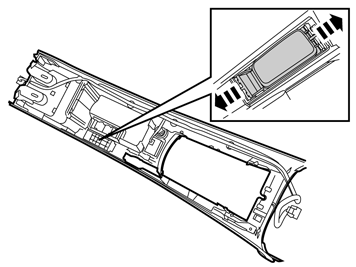
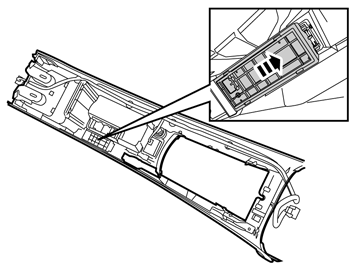
| | Remove the surround from around the display and media player. Use a small screwdriver and press in the catch in one of the surround's upper corners. Carefully bend loose the surround on the same side with a plastic weatherstrip tool.
Note!
Do not damage the panel and dashboard. |
Do the same on the other side.
Hint
If the panel is difficult to remove, press the panel on both sides again and repeat the procedure starting at the other side. |
Fold the surround backwards. Remove by pulling upwards.
|
|  | | J8504534 |
|
| | |
|  | | IMG-263205 |
|
| | |
|  | | IMG-270743 |
|
| | |
|  | | IMG-263584 |
|
| | |
| | |
|  | | IMG-263944 |
|
| | |
|  | | IMG-263945 |
|
| | |
|  | | IMG-263946 |
|
| | |
|  | | IMG-263947 |
|
| | |
|  | | IMG-263948 |
|
| | |
|  | | IMG-268146 |
|
| | |
| | |
|  | | IMG-263949 |
|
| | |
|  | | IMG-270744 |
|
| | |
|  | | IMG-263586 |
|
|  | | IMG-263208 |
|
| | Illustration A Illustration B |
|  | | IMG-263209 |
|
| | |
|  | | IMG-270745 |
|
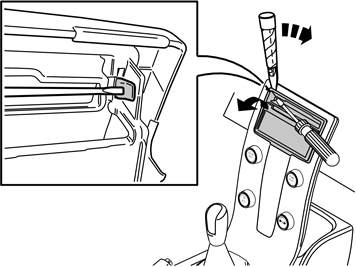
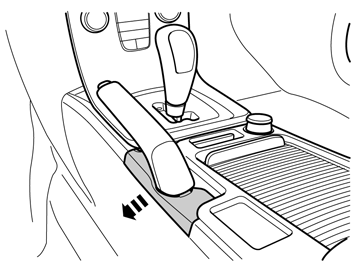
| | Applies to cars with manual gearbox Remove the gear selector lever boot from the center console. First pry it off at the front edge using a weatherstrip tool and then unhook it at the rear edge.
|
|  | | IMG-240085 |
|
| | |
|  | | IMG-268148 |
|
| | |
|  | | IMG-271448 |
|
| | |
| | |
|  | | IMG-271456 |
|
| | Installing the switch Steps 22-25 apply to vehicles with BLIS |
|  | | IMG-271457 |
|
| | |
|  | | IMG-271458 |
|
| | |
|  | | IMG-271459 |
|
| | |
| | |
|  | | IMG-271460 |
|
| | Steps 26-31 apply to vehicles without BLIS |
|  | | IMG-271461 |
|
| | |
|  | | IMG-271462 |
|
| | |
|  | | IMG-271463 |
|
| | |
|  | | IMG-271464 |
|
| | |
|  | | IMG-271465 |
|
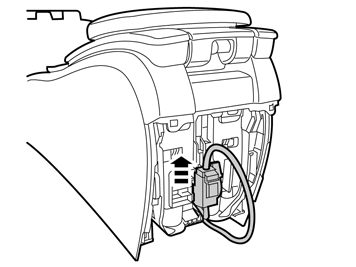
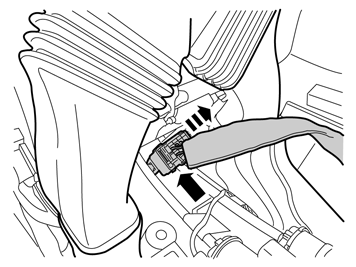
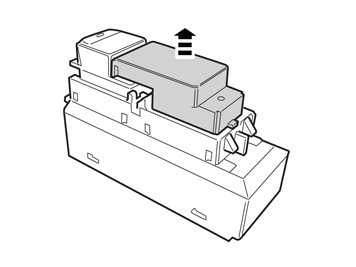
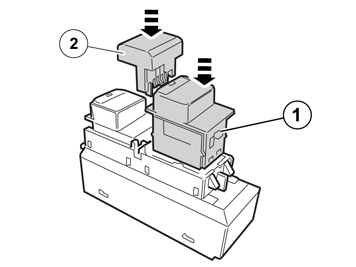
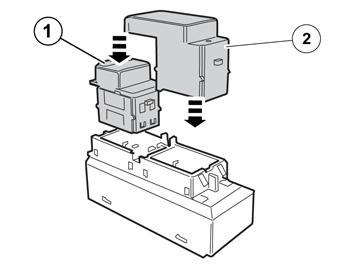
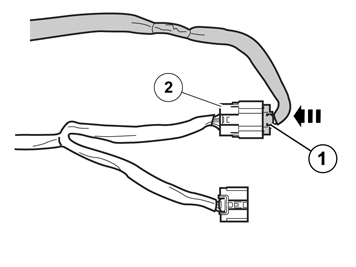
| | Connect the connector (1) from the tunnel console's cable harness to the connector (2) on the prerouted cable harness. Take a piece of foam tape from the kit and wrap it around the connected connectors.
|
| | |
|  | | IMG-242268 |
|
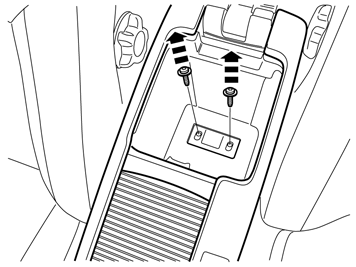
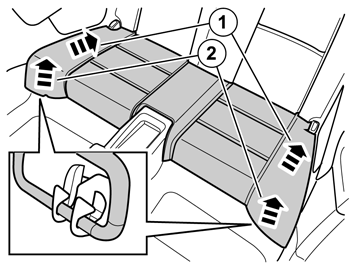
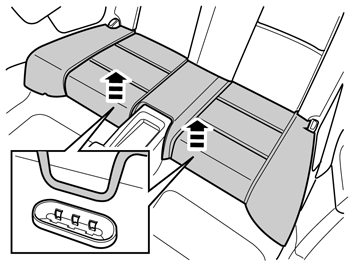
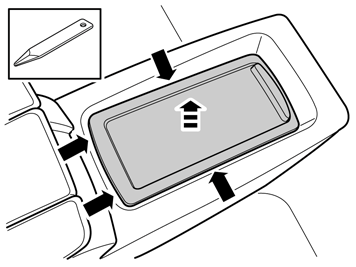
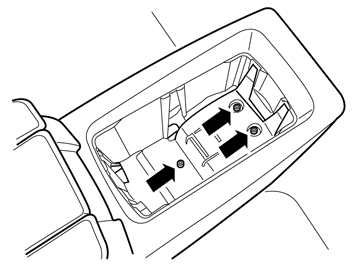
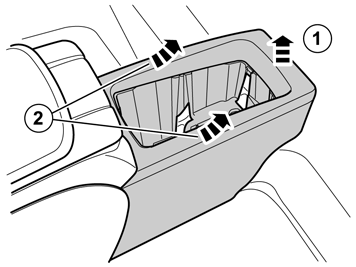
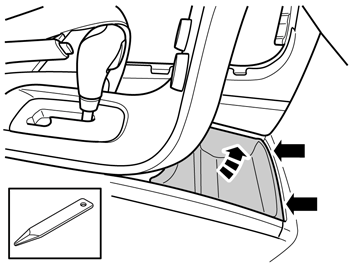
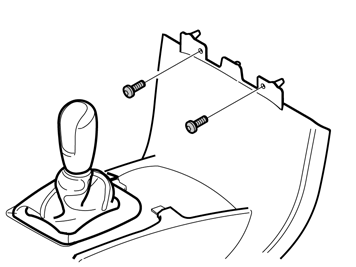
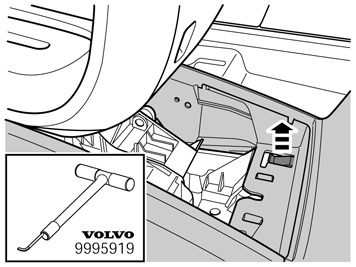
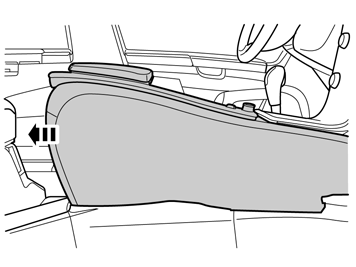
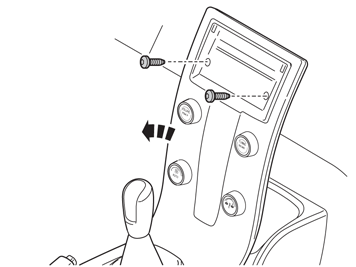
| | Finishing work Reinstall: the tunnel console and the large connector. the center console with its screws, two up and two down. gear lever gaiter, starting at the trailing edge. Slide the tunnel console forward so that the locking lug secures it. At the same time, guide in the floor carpet on the right and left-hand side. the two screws at the front edge of the tunnel console. the cover at the parking brake. the panel at the parking brake. the two screws and the cover under the armrest. the ignition control module (ICM) with the connectors, screws and panel. front storage compartment inside of the center console. the panel inside the center console.
Applies to cars without BLIS Run the identification and configuration procedure for the accessory's function according to the service information in VIDA.
Applies to cars with BLIS Run the configuration procedure for the accessory's function according to the service information in VIDA.
|