2009 L.H.D

Installation Instruction

Installation instructions, accessories
Volvo Car Corporation Gothenburg, Sweden
V70 2009
V70 (08-) 2009

Instruction NoVersionPart. No.Click to download PDF-version of this Installation Instruction
314392201.59452379, 31260378
Electrical socket in luggage compartment


IMG-274443


Equipment
A0000162
IMG-239660
IMG-282889

IMG-391321


INTRODUCTION

  • Read through all of the instructions before starting installation.

  • Notifications and warning texts are for your safety and to minimise the risk of something breaking during installation.

  • Ensure that all tools stated in the instructions are available before starting installation.

  • Certain steps in the instructions are only presented in the form of images. Explanatory text is also given for more complicated steps.

  • In the event of any problems with the instructions or the accessory, contact your local Volvo dealer.


Note!

Some steps in these installation instructions are presented with illustration only.


1
IMG-245980
 

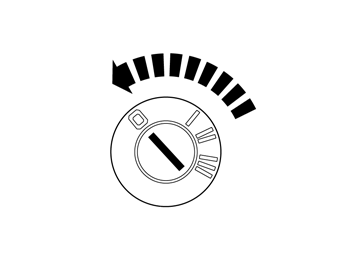
  • Turn the ignition key to position 0.


Note!

Wait at least three minutes before unplugging the connectors or removing other electrical equipment.


2
IMG-268012
 

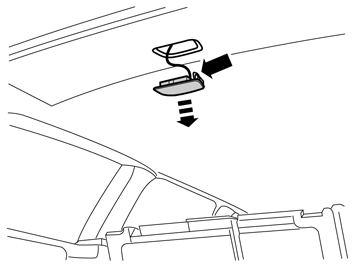
  • Carefully pry off the rear ceiling lighting and detach the connector.

3
IMG-268013
 

  • Remove the screw holding the ceiling panel and carefully pry it loose. It is attached by thirteen clips.

4
IMG-274446
 

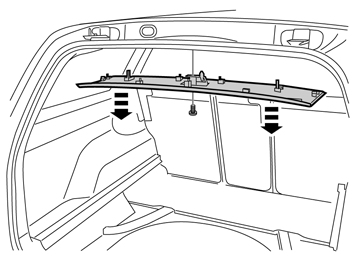
  • Carefully pry off the D-pillar panel at the top edge and pull off/up from the side panel. It is secured by four clips.

5
IMG-274448
 

  • Fold the right-hand backrest forward.

  • Remove the side cushion on the right by first pulling it forwards at the upper edge until the hooks (1) release. Then pull it inwards slightly until the hook (2) releases, and upwards until the locating pin (3) disengages from the mounting at the rear edge.

6
IMG-274449
 

  • Remove the three screws at the upper edge of the side panel and top panel.

7
IMG-274450
 

  • Carefully pull off the top panel from the side panel, it is secured by a clip at the front edge and a locating pin at the rear edge.

  • Unhook the seat belt and place the panel to one side.

8
IMG-274451
 

  • Remove the left-hand side panel by grasping it at the upper edge and carefully pulling it from the car body and lifting up. It is secured by six clips.

 
9
IMG-274452
 

  • Take the right side panel. Drill the hole for the socket in the upper rear corner on the lower section of the panel. The location of the hole is marked.

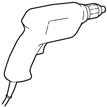
  • First pre-drill using a Ø3 mm (1/8") drill bit.

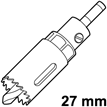
  • Then drill out the hole using a Ø27 mm (1 1/16") diameter hole saw.

  • File out the hole with a round and square file.

  • Remove any swarf.

10
IMG-274453
 

  • Remove the parts from the kit, install the socket and the spacer, tighten with the nut.

11
IMG-274454
 

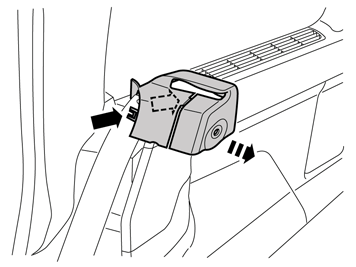
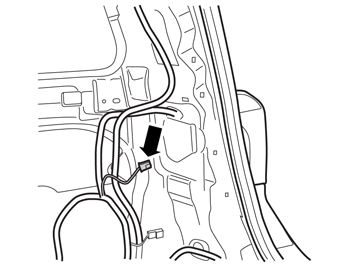
  • Locate the routed cable with 2-pin connector at the rear edge of the wheel arch.

12A
IMG-274455
12B
IMG-274456
 

Illustration A

  • Connect the 2-pin connector to the electrical socket.

Illustration B

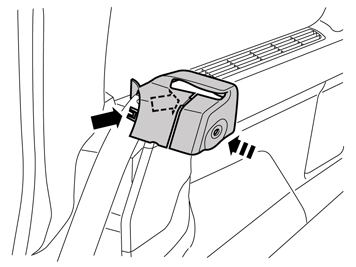
  • Install the panel.

 
13
IMG-274457
 

14
IMG-274458
 

15
IMG-274459
 

16
IMG-274460
 

17
IMG-282891
 

  • Check that the weatherstrip flange is above the panels.

18
IMG-268118
 

19
IMG-268119