2016 L.H.D

Installation Instructions

Installation instructions, accessories
Volvo Car Corporation Gothenburg, Sweden
XC90 2016
XC90 (16-) 2016

Instruction NoVersionPart. No.Click to download PDF-version of this Installation Instruction
313739911.031373989
Roof box lift


IMG-372900


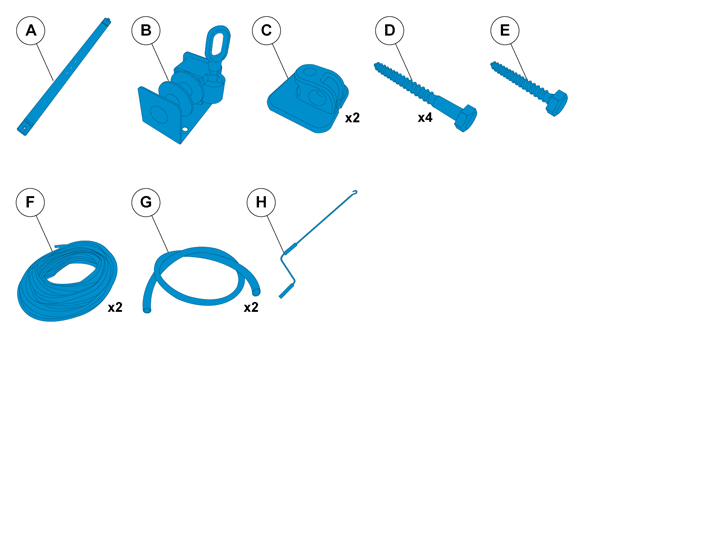
Equipment
A0000162
IMG-239660

IMG-372933


INTRODUCTION

  • Read through all of the instructions before starting installation.

  • Notifications and warning texts are for your safety and to minimise the risk of something breaking during installation.

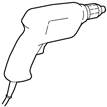
  • Ensure that all tools stated in the instructions are available before starting installation.

  • Certain steps in the instructions are only presented in the form of images. Explanatory text is also given for more complicated steps.

  • In the event of any problems with the instructions or the accessory, contact your local Volvo dealer.

  

Note!

Some steps in these installation instructions are presented with illustration only.


Color symbols

1
IMG-363036
 

Color symbols


Note!

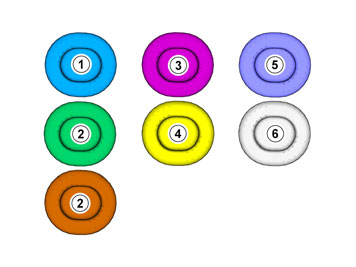
This colour chart displays (in colour print and electronic version) the importance of the different colours used in the images of the method steps.


  1. Used for focused part, the part that you are to do something with.

  2. Used as extra colors when you need to show or differentiate additional parts.

  3. Used for attachments that are to be removed/installed. May be screws, clips, connectors, etc.

  4. Used when the component is not fully removed from the vehicle but only hung to the side.

  5. Used for standard tools and special tools.

  6. Used as background color for vehicle components.

2
IMG-373064
 

3
IMG-372973
 

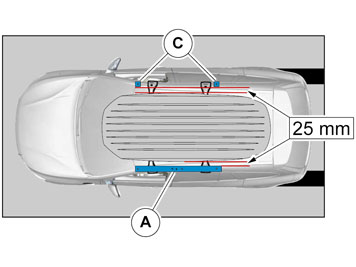
  • Position the car in its normal place in the garage with the roof box mounted.

  • The rail and eyelets must be installed 50 mm wider than the roof box.

4
IMG-372981
 

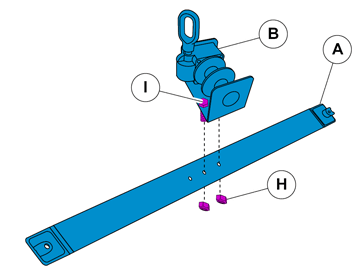
  • Screw the gear housing into the two oblique holes.

5
IMG-372984
 

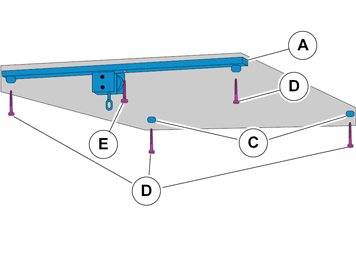
  • Mark out where the holes for the rail and eyelets are to be drilled.

  • Drill a depth of 55 mm.


6
IMG-372992


Note!

The installation must be performed professionally so that the screws are properly and permanently attached to the ceiling. For installation in concrete, light concrete or similar, consult a professional about appropriate fasteners.


  • Screw the rail and eyelets into place.

7
IMG-373021
 

  • Pass a rope through each pulley.

8
IMG-373022
 

  • Continue routing the ropes to the eyelets.

9
IMG-373037
 

  • Pull the tubing over the ropes.

10
IMG-373048


Note!

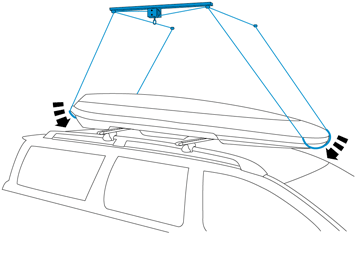
Note that the ropes must reach over the front and rear of the ski box.


11
IMG-373034
 

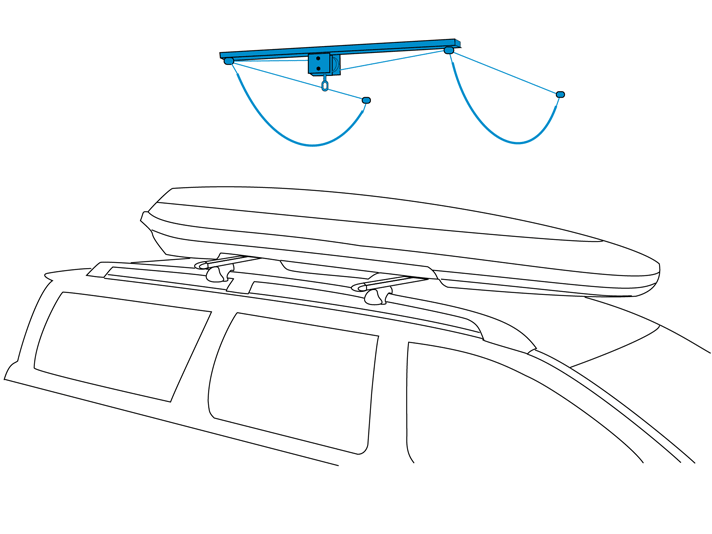
  • Tie the ropes securely so that the knot does not go up.


12
IMG-373032
 

  • Pull the tubing over the knot.

 
13
IMG-373049
 
  • Crank up the empty ski box.