2010 L.H.D

Installation Instructions

Installation instructions, accessories
Volvo Car Corporation Gothenburg, Sweden
XC70 2010
XC70 (08-) 2010

Instruction NoVersionPart. No.Click to download PDF-version of this Installation Instruction
306729321.331359668, 31359450, 30672931
Satellite radio


IMG-261923


Equipment
A0000162
IMG-242205
IMG-239664

IMG-261924

IMG-213320


INTRODUCTION

  • Read through all of the instructions before starting installation.

  • Notifications and warning texts are for your safety and to minimise the risk of something breaking during installation.

  • Ensure that all tools stated in the instructions are available before starting installation.

  • Certain steps in the instructions are only presented in the form of images. Explanatory text is also given for more complicated steps.

  • In the event of any problems with the instructions or the accessory, contact your local Volvo dealer.

  

Note!

Some steps in these installation instructions are presented with illustration only.


Note!

On cars with a subwoofer, a fibre optic adapter cable is required to be able to connect the satellite receiver.


1
IMG-245980
 

2
IMG-262243
 

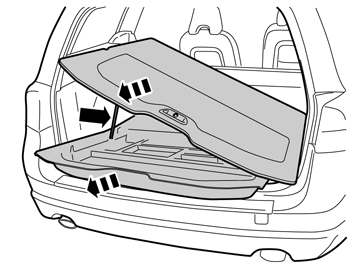
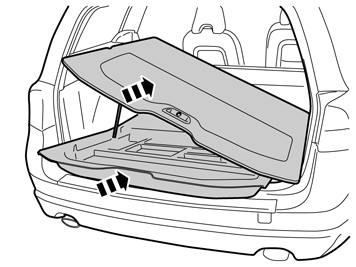
  • Fold up the luggage compartment floor.

  • Pull it from the mountings at the front edge.

  • Pull out the luggage compartment floor and the storage box slightly to access the area behind the backrest.


    Note!

    Note the luggage compartment floor's gas strut.


3
IMG-261926
 

Steps 3-6 apply to cars with subwoofer

  • Remove the rear plastic nuts for the subwoofer.

  • Fold the backrest forward.

4
IMG-261927
 

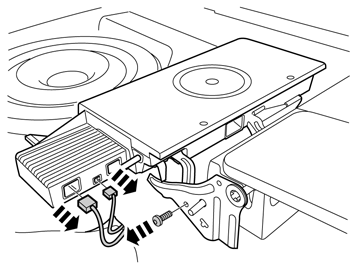
  • Disconnect the connectors from the subwoofer.

  • Remove the screw from the right-hand mounting.

5
IMG-261928
 

  • Remove the screw from the left-hand mounting.

6
IMG-261929


Installation

7
IMG-261930
 

Installation

Applies to all models

8
IMG-261931
 

Applies to cars without subwoofer

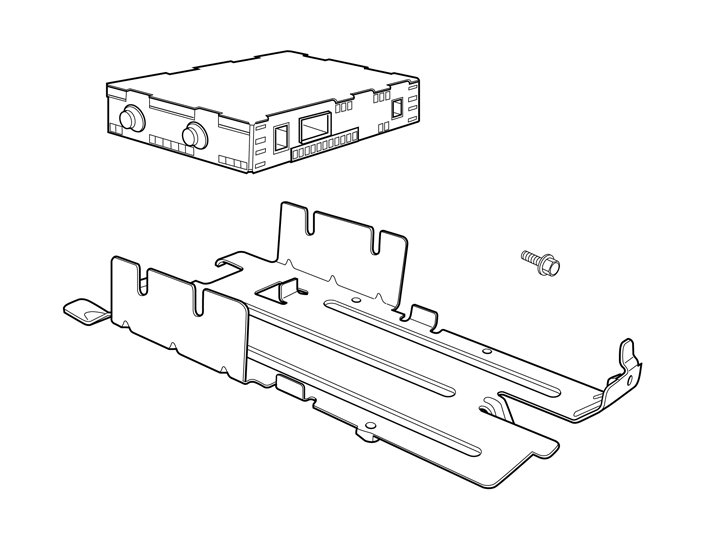
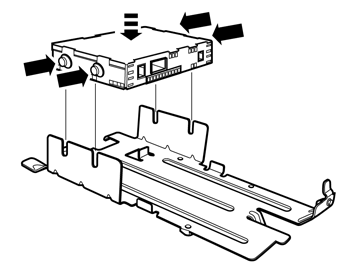
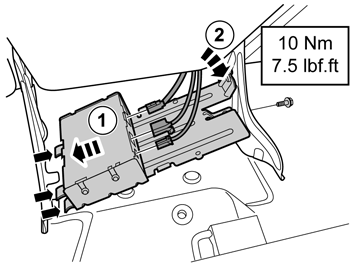
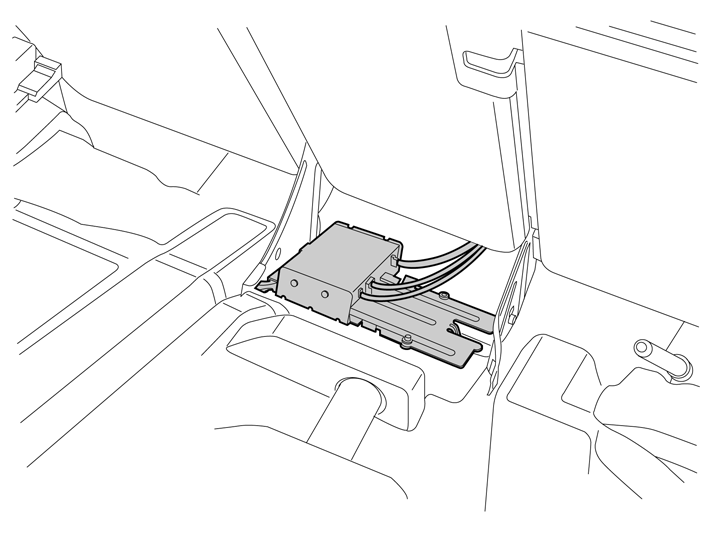
  • Install the satellite unit with bracket on the reverse of the rear backrest.

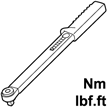
  • Install the screw and torque tighten to 10 Nm (7.5 lbf.ft.)

  • Connect pre-routed cables to the unit:

    power supply, antenna cable and fibre optic cable.

    These are located under the floor carpet in the connection for the location of the unit.

9
IMG-325948
 

Steps 9-14 apply to cars with subwoofer

  • Install the satellite unit with bracket on the reverse of the rear backrest.

  • Install the screw and torque tighten to 10 Nm (7.5 lbf.ft.)

  • Connect pre-routed cables to the unit:

    power supply and antenna cable.

    These are located under the floor carpet in the connection for the location of the unit. The new fibre optic adapter cable is connected later.

10
IMG-261932
 

11
IMG-261934
 

12
IMG-261935
 

13
IMG-325938
 

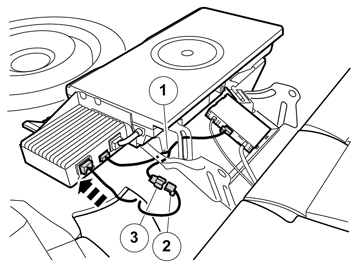
  • Take the fibre optic adapter cable (1) from the kit and connect both the male connectors to the Subwoofer, respectively, Sirius unit.

  • Connect the male connector (2), which was previously disconnected from the Subwoofer, to the female connector (3) in the fibre optic adapter cable.

  • Connect the remaining power supply cable to the Subwoofer. Ensure that all cables are positioned to prevent them from being cut off.

14
IMG-261936
 

15
IMG-262244
 

Applies to all models

16
IMG-242268
 

  • Download software for the accessory's function according to service information in VIDA. (See VIDA or accessories catalogue for article number on software).