| | |
|  | | M8502718 |
|
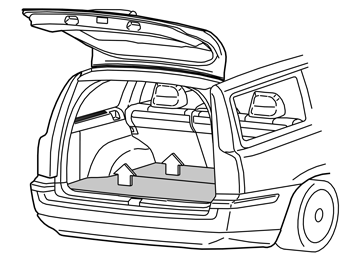
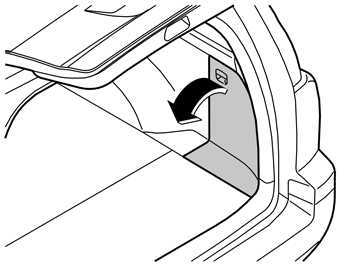
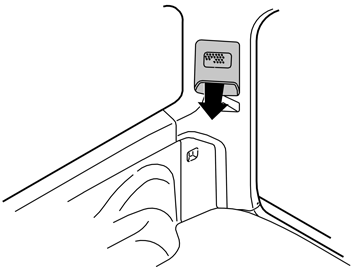
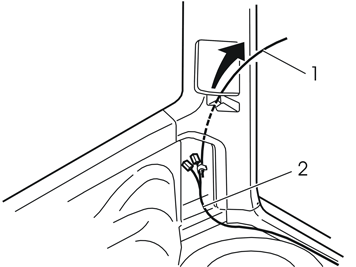
| | Preparations Turn the ignition key to position 0. Wait at least five minutes before disassembling the connectors or removing other electrical equipment. Remove both floor hatches by folding them up and pulling them towards the rear.
|
|  | | M8503121 |
|
| | |
|  | | M8503122 |
|
| | |
|  | | M3100213 |
|
| | |
|  | | M7700278 |
|
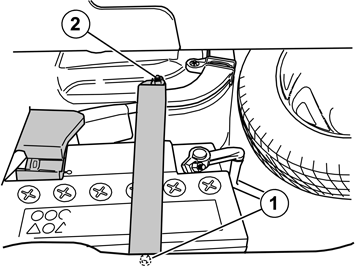
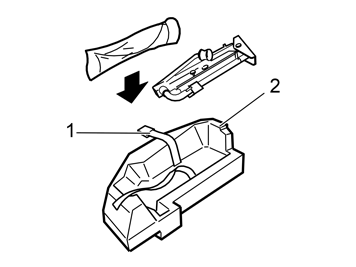
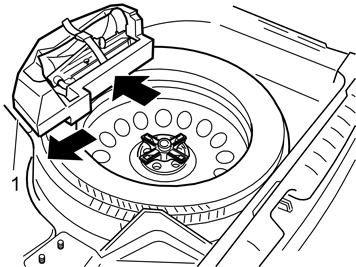
| | Unscrew the holder for the spare wheel, jack and tool bag. Remove the jack and the tool bag from the holder (they will no longer be used). A new holder and mounting fixture for the jack, tool bag and spare wheel are included in the kit.
|
|  | | M7700279 |
|
| | |
|  | | M8901651 |
|
| | |
|  | | M8503006 |
|
| | |
|  | | M8503007 |
|
| | |
|  | | M8503130 |
|
| | Remove the left side panel. Remove the cover and the screw from the front edge. Pull the top edge of the panel out until the clips release. Fold the panel inwards. Lift the panel out.
|
|  | | M8502805 |
|
| | |
|  | | A8500151 |
|
| | |
|  | | M8502927 |
|
| | Remove the panel for the D-post loudspeaker. Carefully pry off the lower edge of the panel using a plastic weatherstrip tool. Place the panel to one side. Repeat the operation on the other side.
|
|  | | M3902958 |
|
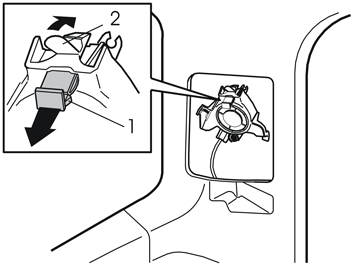
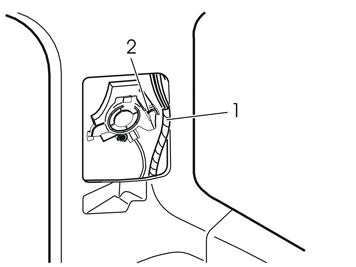
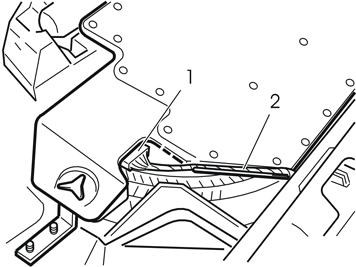
| | Remove the loudspeaker by pulling out the red locking mechanism (1) and pushing in the catch (2). Lower the speaker forwards and lift it out. Unplug the connector from the loudspeaker and move it aside. Repeat the operation on the other side.
|
|  | | M8503123 |
|
| | |
| | |
|  | | M3703526 |
|
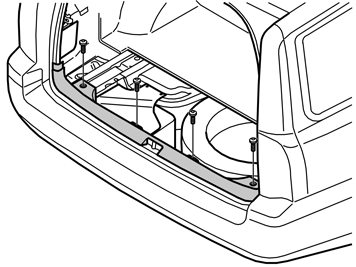
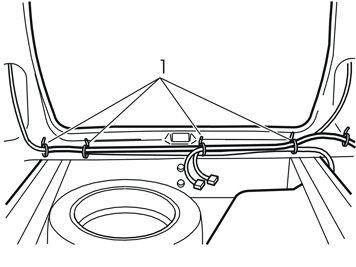
| | Cable routing Position the kit wiring harness along the tailgate sill panel and the floor supports on the right-hand and left-hand sides as illustrated. Make sure the wiring harness is positioned so that the connector (1) can be plugged into the subwoofer, the ground lead can be secured behind the battery and that the loose cable ends are positioned on the left-hand side of the car.
|
|  | | M3702217 |
|
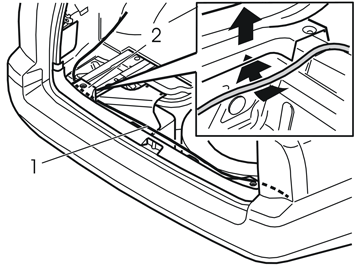
| | Lift the panel and insert the wiring harness (1) with the ground lead in the gap between the floor support (2) and the panel. Insert the cable as far under the panel as possible. Ensure that the cable is not trapped. Press the panel into place. Repeat the operation on the other side. Reinstall the screws in the panel. Tighten.
|
|  | | M3702200 |
|
| | Insert a thick cable (1) or something similar through the loudspeaker cutout behind the D-post panel and out into the cargo compartment. Attach the routed wiring harness (2) to the cable with tape and pull the harness up through the loudspeaker cutout. Repeat the operation on the other side.
|
| | Connecting the cable harness |
|  | | M3903047 |
|
| | Connecting the cable harness Plug in the existing loudspeaker connector (1) to the corresponding connector (2) in the new wiring harness. The remaining connector (3) will be plugged into the loudspeaker. Wrap foam tape from the kit around the connectors to prevent rattling. Repeat the operation on the other side.
|
|  | | M3902915 |
|
| | Reinstall the loudspeakers on the right-hand and left-hand sides by positioning the guide pins in the corresponding D-post holes. Raise the loudspeakers until the catches engage. Push in the red locking mechanism (1).
|
|  | | M3903048 |
|
| | Applies to the left-hand loudspeaker. Pull out the existing wiring harness (1) from the D-post panel and press it firmly into the loudspeaker clamp (2). Reinstall both loudspeaker grilles. Secure the loudspeaker cables to the existing wiring harnesses at the D-post panel with four tie straps from the kit (two on each side).
|
|  | | M3100209 |
|
| | |
|  | | M3702201 |
|
| | |
|  | | M3703523 |
|
| | |
|  | | M3904943 |
|
| | |
|  | | D3703496 |
|
| | |
|  | | M3703524 |
|
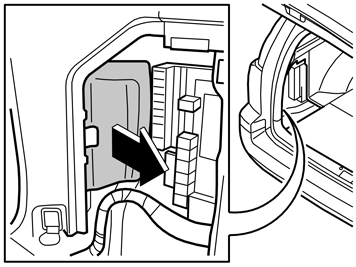
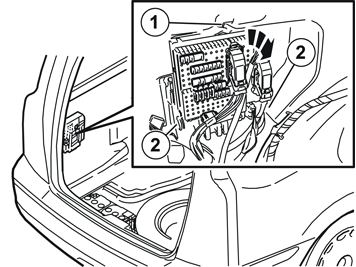
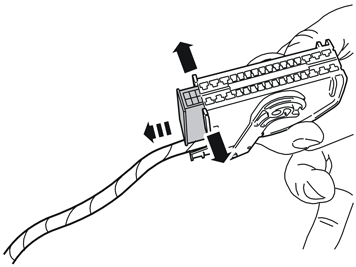
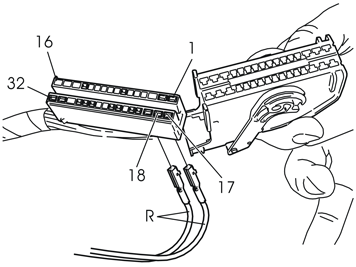
| | Plug the two red (R) cables into positions 17 and 18. The cables can be plugged into either position. Reinstall the connector in the holder Reinstall the connector in the fuse holder.
|
|  | | M3904942 |
|
| | |
|  | | M3703366 |
|
| | |
|  | | M3703525 |
|
| | Note!
Make a note of the position number of the connector. The position numbers are located on the ends of the connector and in the bottom of the fuse holder. |
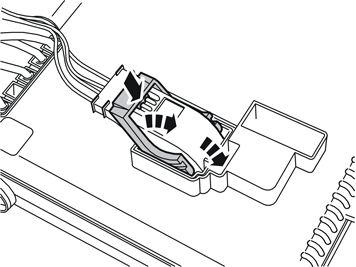
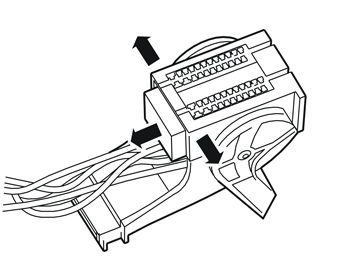
Plug the violet (VO) cable into position 7 in the connector. Reinstall the connector in the holder Reinstall the connector in the fuse holder. Reinstall the rear electronic module.
|
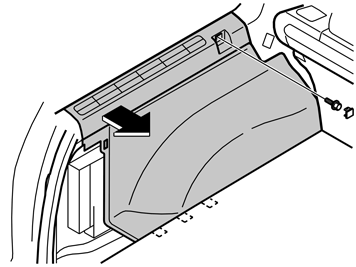
| | Fold the insulation panel back into place. Reconnect the battery ground lead. Reinstall the left-hand side panel. Reinstall the rear insulation panels. Reinstall the side cushion. Fold the seat cushion and backrest back into place. Reinstall the folding side panels.
|
|  | | M8901652 |
|
| | |
|  | | M8901653 |
|
| | |
| | |
|  | | M3903049 |
|
| | Installing the subwoofer Position the subwoofer in the three anchor points: the hole in the rear crossmember (1) the right-hand anchor point (2) for the removed storage box the two studs (3) If necessary: Loosen the knob (4) to align the mounting on the studs.
|
|  | | M3903050 |
|
| | Press the subwoofer firmly into place on the right-hand side of the cargo compartment by turning the clip (1) 90°. Secure the subwoofer with the knob (2). Reinstall the battery holder over the subwoofer mounting and secure it with the nut and bolt. Install the new nut and tighten the mounting to the subwoofer on the remaining stud.
|
|  | | M3905138 |
|
| | |
|  | | M8901654 |
|
| | |
| | Programme the software in accordance with the service information in VIDA.
Note!
The software download is carried out in the following order depending on whether the accessories HU radio, amplifier and subwoofer have been installed at the same time, whether amplifier and subwoofer have been installed at the same time, or if just the subwoofer has been installed. |
Applies if HU radio (AUM), amplifier and subwoofer have been installed: First download ADD AMPLIFIER. Then download ADD SUBWOOFER. Finally, download ADD AUM. Applies if amplifier and subwoofer have been installed (existing HU radio): First download ADD AMPLIFIER. Then download ADD SUBWOOFER. Finally, download RELOAD AUM / UPGRADE AUM. This is so that the radio shall also obtain the correct software in combination with the new amplifier and subwoofer. Applies if only subwoofer has been installed (existing HU radio and amplifier): First download ADD SUBWOOFER. Then download RELOAD AUM / UPGRADE AUM. This is so that the radio shall also obtain the correct software in combination with the new subwoofer.
Hint
If the downloads are made in the wrong order then repeat RELOAD / UPGRADE AUM. |
|


